
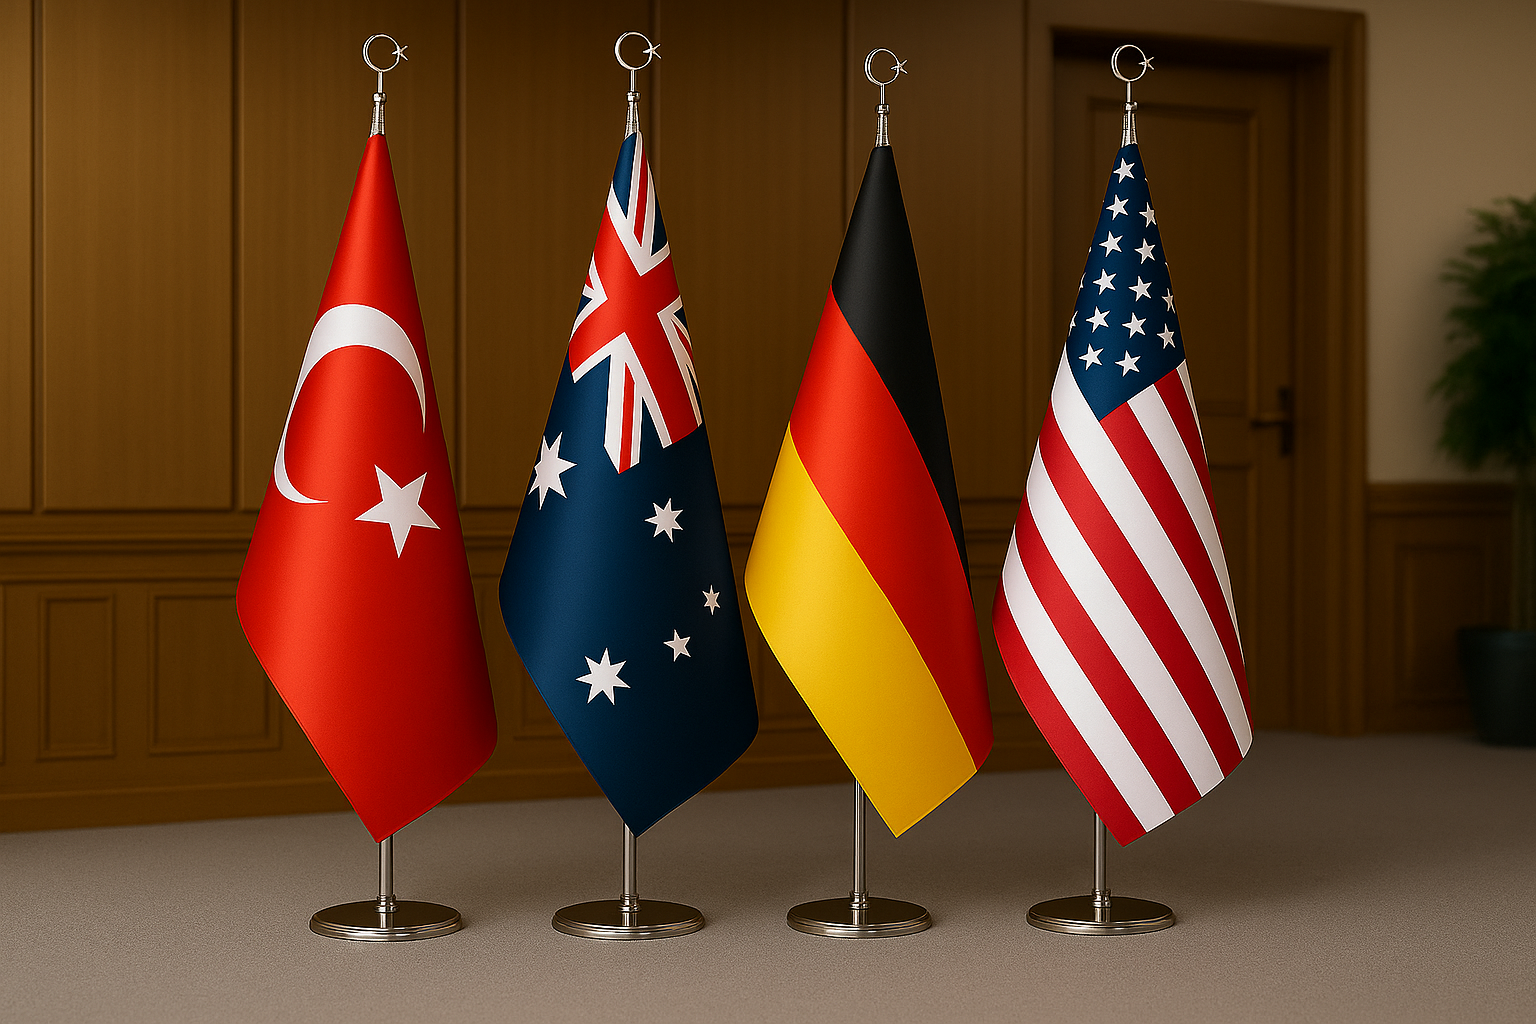
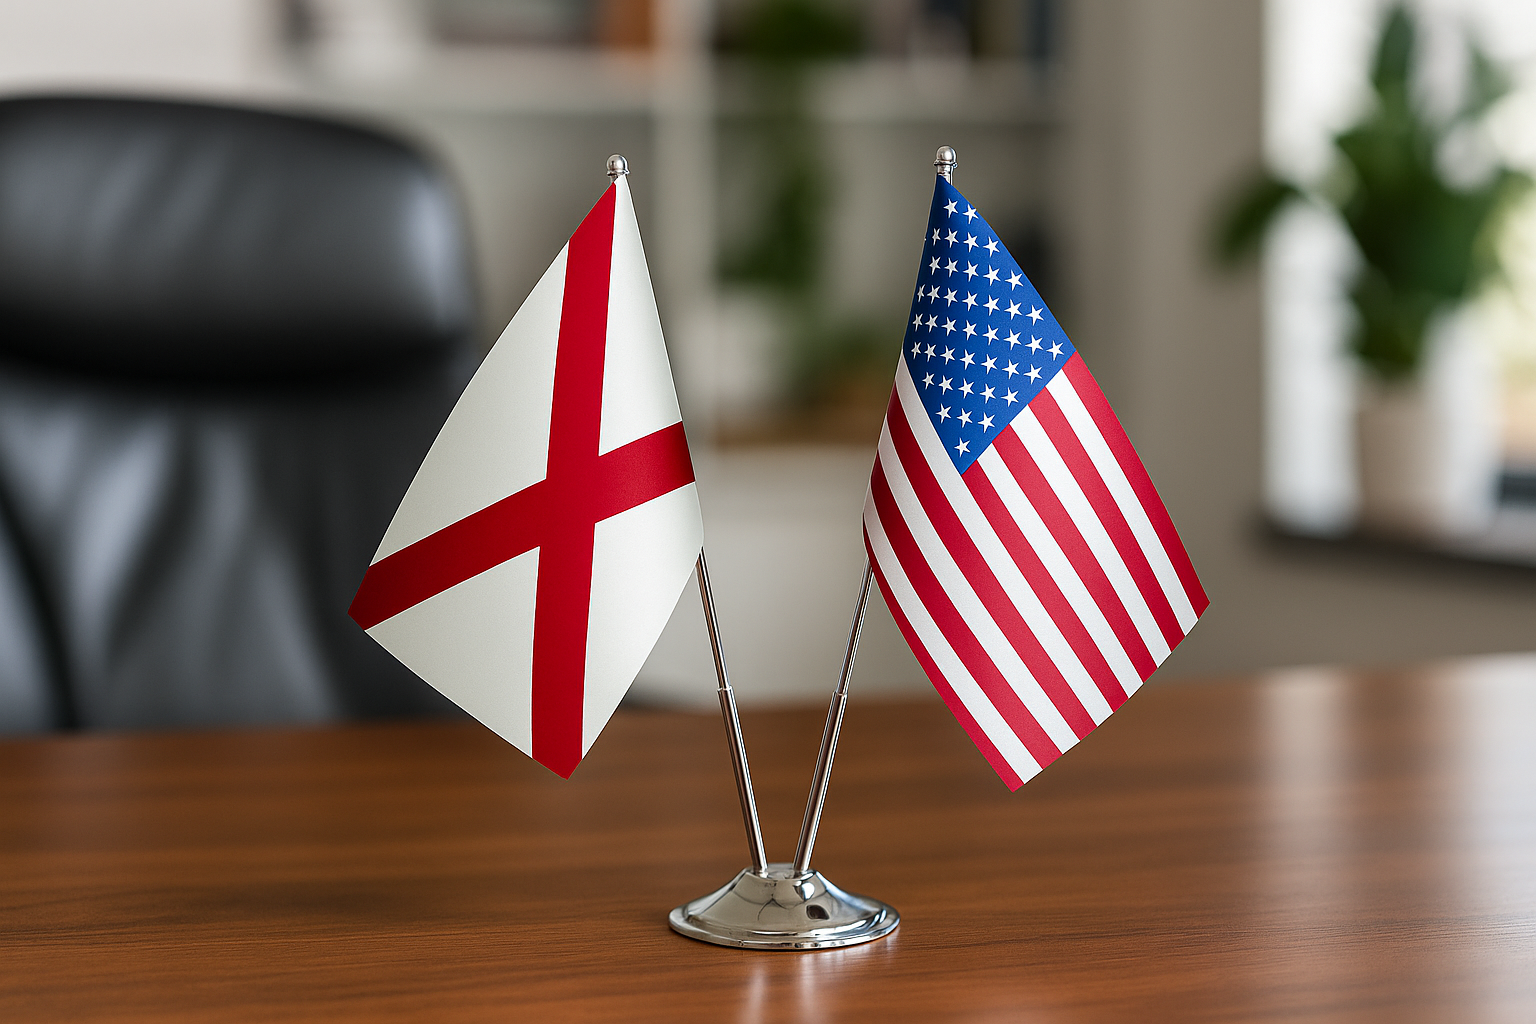


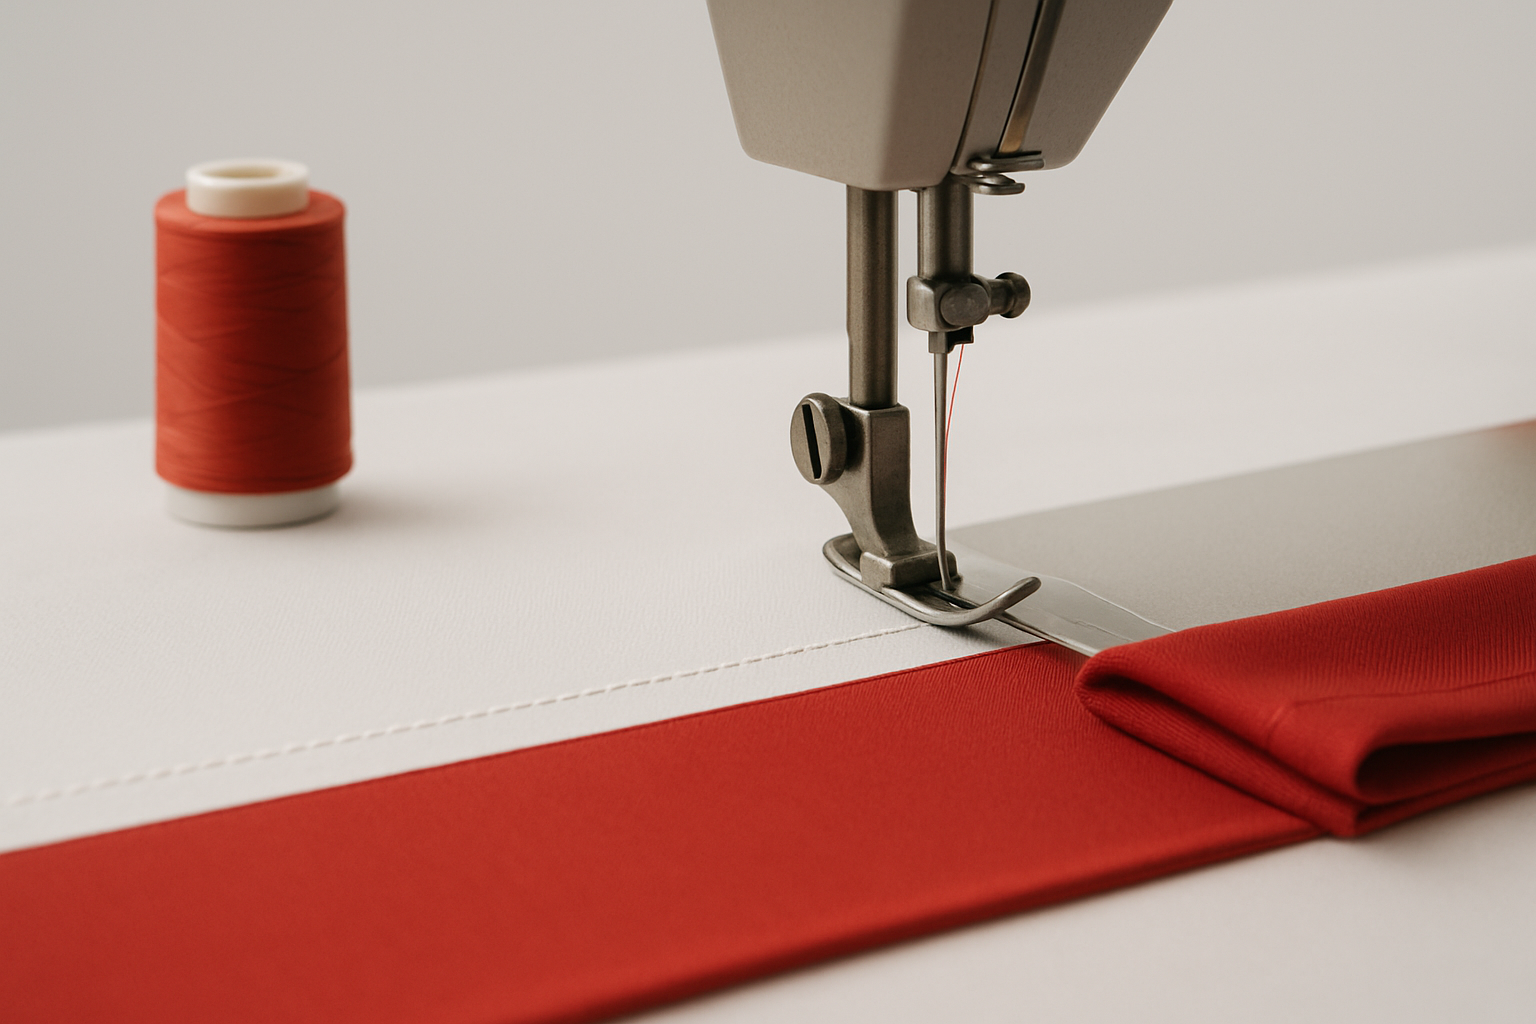

Attaching a flag to a handheld pole takes less than two minutes when you know the right method — sleeve flags slide directly over the stick, while grommeted flags use a small clip or tie to secure the top corner to the pole tip. For anyone equipping a parade, rally, sporting event, or citizenship ceremony, the Handheld Country Flags collection offers pre-assembled options that eliminate the guesswork entirely. This guide walks through every step, from choosing the right hardware to avoiding the frustrating mistakes that cause flags to slip, tear, or droop mid-wave.
What You Need Before You Start
Before attaching anything, you need three things: the correct pole diameter for your flag's attachment method, a flag designed for handheld use, and — if the flag is not pre-attached — either a rubber cap, a small spring clip, or a short length of cord. Handheld flag poles are typically 5/16 in (8 mm) to 3/8 in (9.5 mm) in diameter and range from 12 in (30 cm) for desk flags up to 30 in (76 cm) for parade and rally use. Matching pole diameter to the flag's sleeve or grommet size is the single most important pre-step; a sleeve that is too loose will spin freely, and one that is too tight will tear the hemmed edge during insertion. If you are still deciding on the right pole length for your flag size, the companion article on handheld flag sizes and stick lengths covers that topic in detail so you don't have to guess.
Here is a quick checklist of what to gather:
- Handheld wooden or plastic dowel pole — standard diameter 5/16 in (8 mm)
- Flag with sleeve or grommets — most commercially made handheld flags use a sewn sleeve along the left edge
- Rubber or plastic tip cap — protects the flag fabric from the raw pole end and keeps the sleeve in place
- Small zip tie, spring clip, or short cord — only needed for grommeted flags
- Scissors — to trim any excess cord or zip tie tail
- Optional: low-tack tape or a tiny drop of craft glue — to anchor a loose sleeve on an oversized pole
You do not need any specialized tools. The entire process is hand-powered, which is exactly why handheld flags are popular at large-scale events where speed of assembly matters.
Step-by-Step: How to Attach a Flag to a Handheld Pole
 The method you use depends on whether your flag has a sewn sleeve or metal grommets. Sleeve-style flags — by far the most common format for handheld flags — are the easiest to attach and the most secure for waving. The USA Handheld Flag is a good example: it ships with a pole already inserted through the sleeve, with a rubber tip cap holding everything in place, so you can see exactly what a finished assembly looks like before you replicate it on other flags. Understanding the anatomy of that finished product — sleeve hem along the pole edge, flag face printed on polyester or nylon, rubber cap at the tip — makes every step below immediately logical. Take a close look at the construction before disassembling anything, because re-threading a sleeve is far easier when you have a mental picture of the end result.
Method 1: Sleeve-Style Flag (most common)
- Remove the rubber tip cap from the top of the pole if one is already installed. Set it aside — you will need it at the end.
- Orient the flag so the sewn sleeve hem faces you and the flag's hoist (left) edge aligns with the pole. The canton (star field on a US flag, or the primary design element on other flags) should be at the top-left when the pole is held upright.
- Feed the pole tip into the bottom of the sleeve and push it upward through the full length of the fabric channel. Keep the pole centered; pushing at an angle can cause the tip to punch through the hem stitching.
- Stop when 1/2 in (12 mm) of pole extends past the top of the sleeve. This exposed section holds the tip cap.
- Press the rubber tip cap firmly onto the exposed pole end. It should seat snugly and hold the sleeve against the pole without any gap. If the cap is loose, wrap one layer of electrical tape around the pole tip before pressing the cap on.
- Check the flag face orientation. Hold the pole upright — the flag should fly to the right, with the canton in the top-left position. If the design is reversed, the flag was inserted upside down; remove the cap and re-thread.
Method 2: Grommeted Flag on a Handheld Pole
- Thread a 6 in (15 cm) length of cord or a small spring clip through the top grommet and tie it firmly around the pole, just below the tip. Use a bowline knot for security — it does not slip under tension.
- Let the flag hang and thread a second cord or clip through the bottom grommet, tying it lower on the pole to prevent the flag from rotating.
- Trim any excess cord with scissors so it does not flap against the flag face during waving.
Common Mistakes That Cause Flags to Slip or Tear
The most common mistake is skipping the tip cap, which allows the sleeve to slide down the pole and bunch at the handle after just a few waves. Without that cap, centrifugal force during waving will slowly migrate the flag downward until it is crumpled against your fist — a frustrating problem in the middle of a parade. Other mistakes include inserting the pole at an angle (which splits the corner stitching of the sleeve), using a pole that is too thin for the sleeve (the flag spins freely instead of staying face-forward), and tying grommeted flags with square knots instead of bowline knots (square knots tighten under load and are nearly impossible to remove later).
Additional mistakes to avoid:
- Forcing an oversized pole into a tight sleeve — this splits the hem. Use the correct diameter or lightly sand down a wooden dowel.
- Attaching the flag with the canton at the bottom — this is incorrect under general flag display conventions and looks wrong during waving.
- Using zip ties with sharp tails on grommeted flags — the tail can scratch or cut the flag fabric. Always trim and file the tail smooth.
- Choosing a pole that is too short for the flag — if more than one-third of the flag drapes below your hand, the pole length is inadequate for that flag size.

Handheld Country Flags
Pre-assembled handheld flags for over 200 countries — each one arrives pole-inserted and tip-capped so you can wave it straight out of the package.
Browse Collection →How to Hold a Handheld Flag Correctly
Holding a handheld flag correctly means gripping the bottom quarter of the pole — not the middle — so the flag stays elevated and visible above the crowd. A grip at the very bottom of the stick concentrates leverage at your wrist and reduces arm fatigue during extended waving, which matters at a two-hour parade more than it does at a five-minute ceremony. The flag should be angled forward at roughly 70–80 degrees from horizontal when carried while walking, and held fully vertical (90 degrees) when stationary and presenting the flag to an audience.
For waving technique: use short, lateral wrist rotations rather than large arm swings. A 4 in (10 cm) wrist flick produces a clean snap of the flag fabric that displays the design clearly, while a full arm swing creates turbulence that folds the flag on itself. At events with crowds on both sides — such as a street parade — alternate waving direction every 15–20 seconds so both sides of the crowd see the flag face, not just the reverse. Children should use poles no longer than 12 in (30 cm) to maintain safe control; adult-sized 18–24 in (46–61 cm) poles can become a hazard in dense crowds when used by young children.
Safety and Durability: Making Your Flag Last
A well-attached flag on a quality pole should last 6 months to 2 years depending on use frequency, UV exposure, and how it is stored. Safety comes first: wooden dowel poles can splinter if they crack, so inspect the pole before each use and discard any that show longitudinal cracks or exposed raw wood at the tip. Plastic poles are splinter-free and recommended for children's events; they are less rigid than wood but safe for indoor use and short-duration outdoor events.
For durability, store flags sleeve-on the pole in a cool, dry location — rolling them tightly and placing them in a cardboard tube prevents crease damage to the print. Polyester handheld flags are rated for approximately 80% UV resistance over standard outdoor use, but repeated direct-sun exposure during multi-day events will fade lighter colors (yellows and whites) faster than dark colors. Wash sleeve-style flags by removing them from the pole, hand-washing in cold water with mild detergent, and re-threading once fully dry — machine washing distorts the sleeve hem and shortens its useful life significantly.
When to Skip DIY and Order Pre-Assembled Flags
For orders of 50 or more flags, ordering pre-assembled units from a manufacturer is almost always faster, more consistent, and less expensive per unit than purchasing poles and flags separately and assembling them yourself. If you are managing a large citizenship ceremony, school event, or corporate brand activation, the labor cost of manual assembly — even at minimum wage — quickly exceeds the price premium of pre-assembled flags. Bulk pre-assembled handheld flags also guarantee that every unit has the same pole length, tip cap type, and flag orientation, which matters for professional appearances on camera or in photography.
DIY assembly makes sense when you need one or two custom flags quickly, when you are replacing a damaged flag on an existing pole, or when you are working on a craft project that requires a non-standard size. For those craft and novelty use cases — such as making a miniature flag for a display or a costume prop — see the FAQ section below for a quick overview of the materials involved. If your project involves mounting flags on vehicles rather than carrying them, the guide on car flag sizes and mount types covers pole brackets, window clips, and antenna mounts in full detail.
How do you hold a handheld flag so it stays visible and doesn't droop? +
How do you get a handheld flag in Animal Crossing: New Horizons (ACNH)? +
How do you make a handheld flag from scratch at home? +
How do you make a handheld flag pole at home? +
What is the correct way to display a US handheld flag according to flag etiquette? +
Can I attach any flag to a handheld pole, or does the flag need a specific attachment type? +
How many handheld flags do I need to order for a large event, and how far in advance? +
Whether you are assembling a single flag for a desk display or preparing hundreds for a parade, the process always comes down to the same fundamentals: matching sleeve to pole diameter, seating the tip cap firmly, and checking face orientation before distribution. For ready-to-wave options across more than 200 countries, browse the full Handheld Country Flags collection — every flag ships pre-assembled with pole and tip cap included. If you need a specific national flag, the USA Handheld Flag is a popular starting point that shows exactly what a finished, event-ready assembly looks like. For questions about sizing the right flag-to-pole ratio before you order, the guide on handheld flag sizes and stick lengths provides the measurements you need. Bulk pricing is available for corporate orders, civic organizations, schools, and event planners — reach out directly for quantity-based quotes and custom printing options.