







Hanging a banner without tearing it comes down to three things: using the right hardware for your banner type, distributing tension evenly across every attachment point, and never pulling a cold or over-stretched fabric banner tight before it has settled. Whether you are mounting a fabric banner, pole banner, or customized banner for an event, storefront, or outdoor display, the steps below will walk you through exactly how to do it without causing rips, stress tears, or grommet failures.
What You Need Before You Start Hanging Any Banner
Gather your hardware and inspect your banner before touching a single wall or pole — most tears happen in the first 60 seconds of a rushed installation. You will need the correct mounting hardware for your banner type, a helper for anything wider than 4 ft (1.2 m), and a flat surface to inspect the print before it goes up.
The specific hardware depends on your banner format. For a pole banner mounted on a street lamp or sign post, you need top and bottom brackets sized to your pole diameter, typically 4 in (10 cm) apart per bracket set, plus stainless steel banding or clamps rated for outdoor wind load. For a wall-mounted fabric banner, you need non-corrosive anchor bolts or adhesive hooks rated for at least three times the banner's weight, bungee cords or zip ties (not sharp wire), and a level. For indoor retractable displays, the Portable Roll-up Banner Stand eliminates almost all hardware entirely — the banner rolls into its own base and sets up in seconds without tools, making it the safest option for trade shows and presentations where walls cannot be drilled.
- Measuring tape — confirm banner dimensions match the hanging span before cutting any rope or cord
- Bungee cords or elastic line — always preferred over rigid wire at grommet points; they absorb wind shock
- Ladder rated for your working height — never stand on a bucket when tensioning a pole banner
- Zip ties (8 in / 20 cm minimum length) — for pole-sleeve banners that slide over a horizontal arm
- Soft cloth or foam padding — wrap metal clamps anywhere they contact printed fabric to prevent abrasion
- A second person — mandatory for banners over 4 ft (1.2 m) wide or above 8 ft (2.4 m) height
Also check the banner itself before installation. Look for any pre-existing stress marks near grommets, confirm that all hem seams are fully bonded, and let a cold-stored fabric banner reach room temperature for at least 30 minutes before stretching it. If you are deciding between vinyl and fabric for an outdoor install, the material choice matters as much as the hardware — see the full breakdown in our article on vinyl or fabric banner for outdoor use before ordering your next print.
Step-by-Step Instructions for Hanging a Banner Without Damage
Follow these steps in order — skipping ahead is the single most common cause of torn corners and snapped grommets. Work from the center outward and never anchor one corner before the opposite one is in position.
- Lay the banner flat and mark your anchor points. Unroll or unfold the banner on a clean floor. Count every grommet and measure the distance between them. Mark corresponding anchor points on your wall or pole using a level so the banner hangs square.
- Install all hardware before touching the banner. Set every bracket, hook, or clamp in position first. Tightening a bracket while a banner hangs from it multiplies stress on whichever grommet bears the load.
- Attach the center top grommet first. Lift the banner and hook the center top point. This keeps the print centered and prevents diagonal pull while you work outward.
- Work outward symmetrically — top, then bottom. Attach the top-left and top-right grommets next, keeping equal slack on both sides. Then move to the bottom center, then bottom corners. This cross-pattern prevents one side from carrying all the tension.
- Use bungee cords at outdoor grommet points. Thread a bungee through each grommet and hook it to your anchor. The elastic stretch absorbs wind gusts that would otherwise rip a rigid attachment point straight through the fabric.
- Tension gradually — never yank. Pull each attachment point snug but not drum-tight. A fabric banner should have a slight natural drape; a vinyl banner can be slightly tighter because the material is stiffer. Over-tensioning fabric tears the weave at grommets within days.
- For pole banners, slide the pole sleeve before mounting. If your pole banner uses a sleeve (a sewn channel rather than grommets), thread the pole through the sleeve on the ground before raising it. Trying to feed a pole through a hanging sleeve twists the fabric and stresses the seam.
- Final check: look at the banner from 20 ft (6 m) away. Walk back and confirm there are no diagonal wrinkles pulling toward a single corner — that is a sign of uneven tension that will worsen and eventually tear.
 The USA Flag Party Banner in 33 ft (10 m) Raschel Fabric is a good example of why material matters during installation. Raschel-knitted 110g polyester has a natural stretch that must be accounted for when tensioning — if you pull it rigid like a vinyl banner, you will distort the print within a few hanging cycles. For long fabric banners like this, use multiple intermediate attachment points along the top edge rather than relying solely on the two end grommets, and always allow 1–2 in (2.5–5 cm) of natural sag at the center on spans over 10 ft (3 m). This distributes the load across the full hem rather than concentrating it at the end attachment points, which is where virtually every catastrophic tear begins. If you are hanging this style of banner at a party, parade, or community event, pre-attach all hardware to a rope line on the ground, raise the full assembly together, and then secure the ends — this two-person technique cuts installation time by more than half and keeps the print face from dragging on the ground.
Common Mistakes That Cause Banners to Tear During or After Installation
The most destructive mistake is attaching a banner at only two corner points and leaving the center unsupported — this creates a catenary load that concentrates all wind force at those two grommets and tears them out within days. Every grommet the manufacturer provides exists for a reason; use all of them.
Here are the other mistakes installers make most often, along with the specific damage each one causes:
- Using wire rope or steel cable directly through grommets — wire cuts through the grommet ring under wind load. Use nylon rope, bungee, or zip ties instead.
- Hanging a banner in high wind without wind slits — fabric banners above 3 ft × 6 ft (0.9 m × 1.8 m) outdoors should have wind slits cut vertically at 12 in (30 cm) intervals if they are designed for that. Never cut slits yourself without checking your banner's hem design first.
- Over-tensioning one side to fix a lean — if your banner hangs crooked, re-level your anchor points. Pulling one side tighter to compensate creates asymmetric stress.
- Stapling or nailing through the face — only attach through designated grommets or pole sleeves. Any penetration through the printed face creates a tear initiation point.
- Leaving a banner out in freezing temperatures without UV-resistant material — standard vinyl becomes brittle below 32°F (0°C) and can crack on contact. For cold-climate outdoor installs, confirm your banner is rated for the temperature range.
- Rolling up a wet banner — mold forms within 24–48 hours. Always hang or lay flat to dry before storage, particularly with fabric banners.
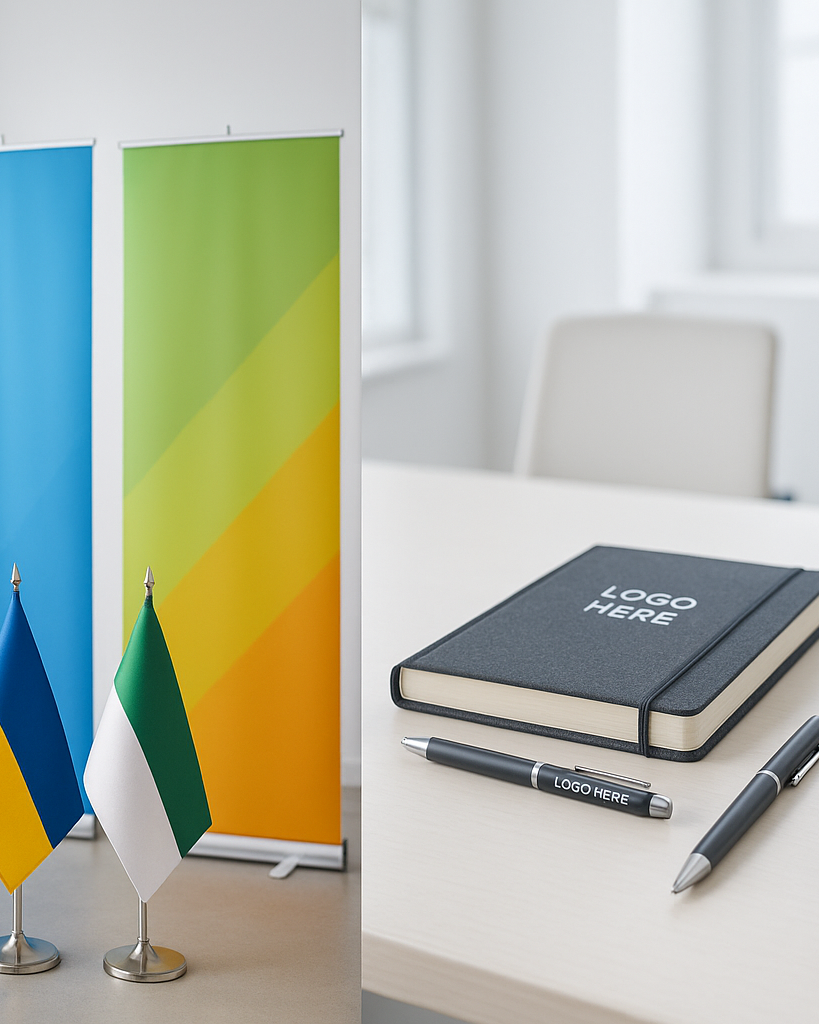
 For indoor events and trade shows where drilling is not an option, the Roll-up Banner Print Only is printed on premium vinyl or polyester material and designed specifically to be paired with a retractable stand — eliminating grommet stress, wall anchors, and the installation variables that cause most tears. The print-only option is practical when you already own a stand or when you need to replace a worn graphic without replacing the entire unit. Because the material is engineered to roll and unroll repeatedly without creasing, it avoids the fatigue cracking that affects cheaper banner substrates over time. If you are building out a full trade show or conference display, pairing this print with the Portable Roll-up Banner Stand gives you a system that sets up in seconds, stores flat during transport, and requires no tools or hardware at the venue. For anyone who attends multiple events per year, this format prevents the accumulated grommet wear that shortens the lifespan of traditionally hung customized banners.
Safety and Durability Notes for Long-Term Banner Installations
A properly installed outdoor banner should last 6 months to 2 years depending on material quality and UV exposure — but an improperly tensioned banner can fail in under two weeks regardless of material grade. Safety matters too: a falling banner from 15 ft (4.5 m) poses a genuine hazard to people below.
For any outdoor pole banner installation above 8 ft (2.4 m), check local municipal codes before mounting. Many cities require permits for banners on public-facing street poles, and some jurisdictions specify maximum banner dimensions — typically no wider than 24 in (60 cm) and no taller than 96 in (244 cm) for street pole banners without a separate sign permit. Non-compliance can result in removal by city crews, which causes damage to the banner regardless of how carefully it was installed.
On UV exposure: most quality outdoor banners are rated 80% UV resistant, meaning the inks and substrate will resist significant fading under direct sun for the manufacturer's rated period. However, that rating assumes correct installation with proper airflow behind the banner — a banner pressed flat against a dark surface with no air gap behind it heats up significantly faster and can degrade 30–40% faster than a free-hanging banner. Always allow at least 1 in (2.5 cm) of clearance between the banner face and any wall or panel behind it.
Inspect grommet rings every 30 days on permanent installations. Zinc-plated grommets in coastal or humid environments will show rust within 3–6 months; stainless steel or brass grommets are worth the upgrade for any banner expected to stay up longer than one season. If a grommet ring shows cracking or the fabric around it shows whitening or stress lines, reinforce it immediately with a grommet repair kit rather than waiting for a full failure.
Banners & Accessories
Everything you need to mount, display, and protect your banners — from stands and hardware to print-ready banner formats built for clean, tear-free installation.
Browse Collection →When You Should Hire a Professional Instead of Installing Yourself
Call a professional installer when your banner exceeds 10 ft (3 m) in height, spans a roadway or public pedestrian area, or requires attachment to a structural element like a steel truss, scaffolding, or a lamp post on public property. The risk at these scales is not just banner damage — it is structural liability.
Specifically, hire a professional rigger or sign installer when any of the following apply:
- The banner is attached to a building facade above the first floor
- The installation is over a street, walkway, or anywhere a falling banner could injure someone
- Your municipality requires a licensed sign contractor to pull the permit
- The banner weighs more than 10 lb (4.5 kg) fully loaded with hardware
- Wind load calculations are required by building management (common for banners on commercial or government buildings)
For seasonal church displays, community events, or interior sanctuaries, the installation complexity is usually manageable with two people and the right hardware. If you are planning banners for a church or worship space, our article on church banners for sanctuaries and seasonal services covers display methods specific to that environment. For corporate trade show and conference banners, the retractable stand format eliminates professional installation entirely — worth factoring into your total budget when comparing display options.
If your project involves customized banners that will be displayed at multiple venues over time — conferences, retail rollouts, franchise openings — it is worth reading our guide on standard banner sizes for indoor events to confirm your dimensions work across different venue configurations before you print.
What is the best way to hang a customized banner without damaging the print? +
How do I hang a fabric banner outdoors without it tearing in the wind? +
What hardware do I need for a pole banner on a street lamp or sign pole? +
How long does an outdoor banner last if installed correctly? +
Can I hang a banner on a wall without drilling? +
What is the difference between a pole banner and a flag pole banner? +
How do I store a banner after an event so it does not tear during the next installation? +
Installing a banner correctly the first time protects both your investment and your display's visual impact. For complete display solutions, explore the full Banners & Posters collection for customized banners in a range of formats and materials, or browse the Banners & Accessories collection for mounting hardware and display systems. If you need a professional-grade indoor display that sets up without any tools or wall anchors, the Portable Roll-up Banner Stand is the most reliable option for repeat events. For logo-bearing event materials beyond banners, our article on corporate gift ideas that carry a logo well covers complementary branded products worth pairing with your display. Bulk pricing is available for corporate orders across all banner formats — contact us for a quote on quantities of 10 or more.


