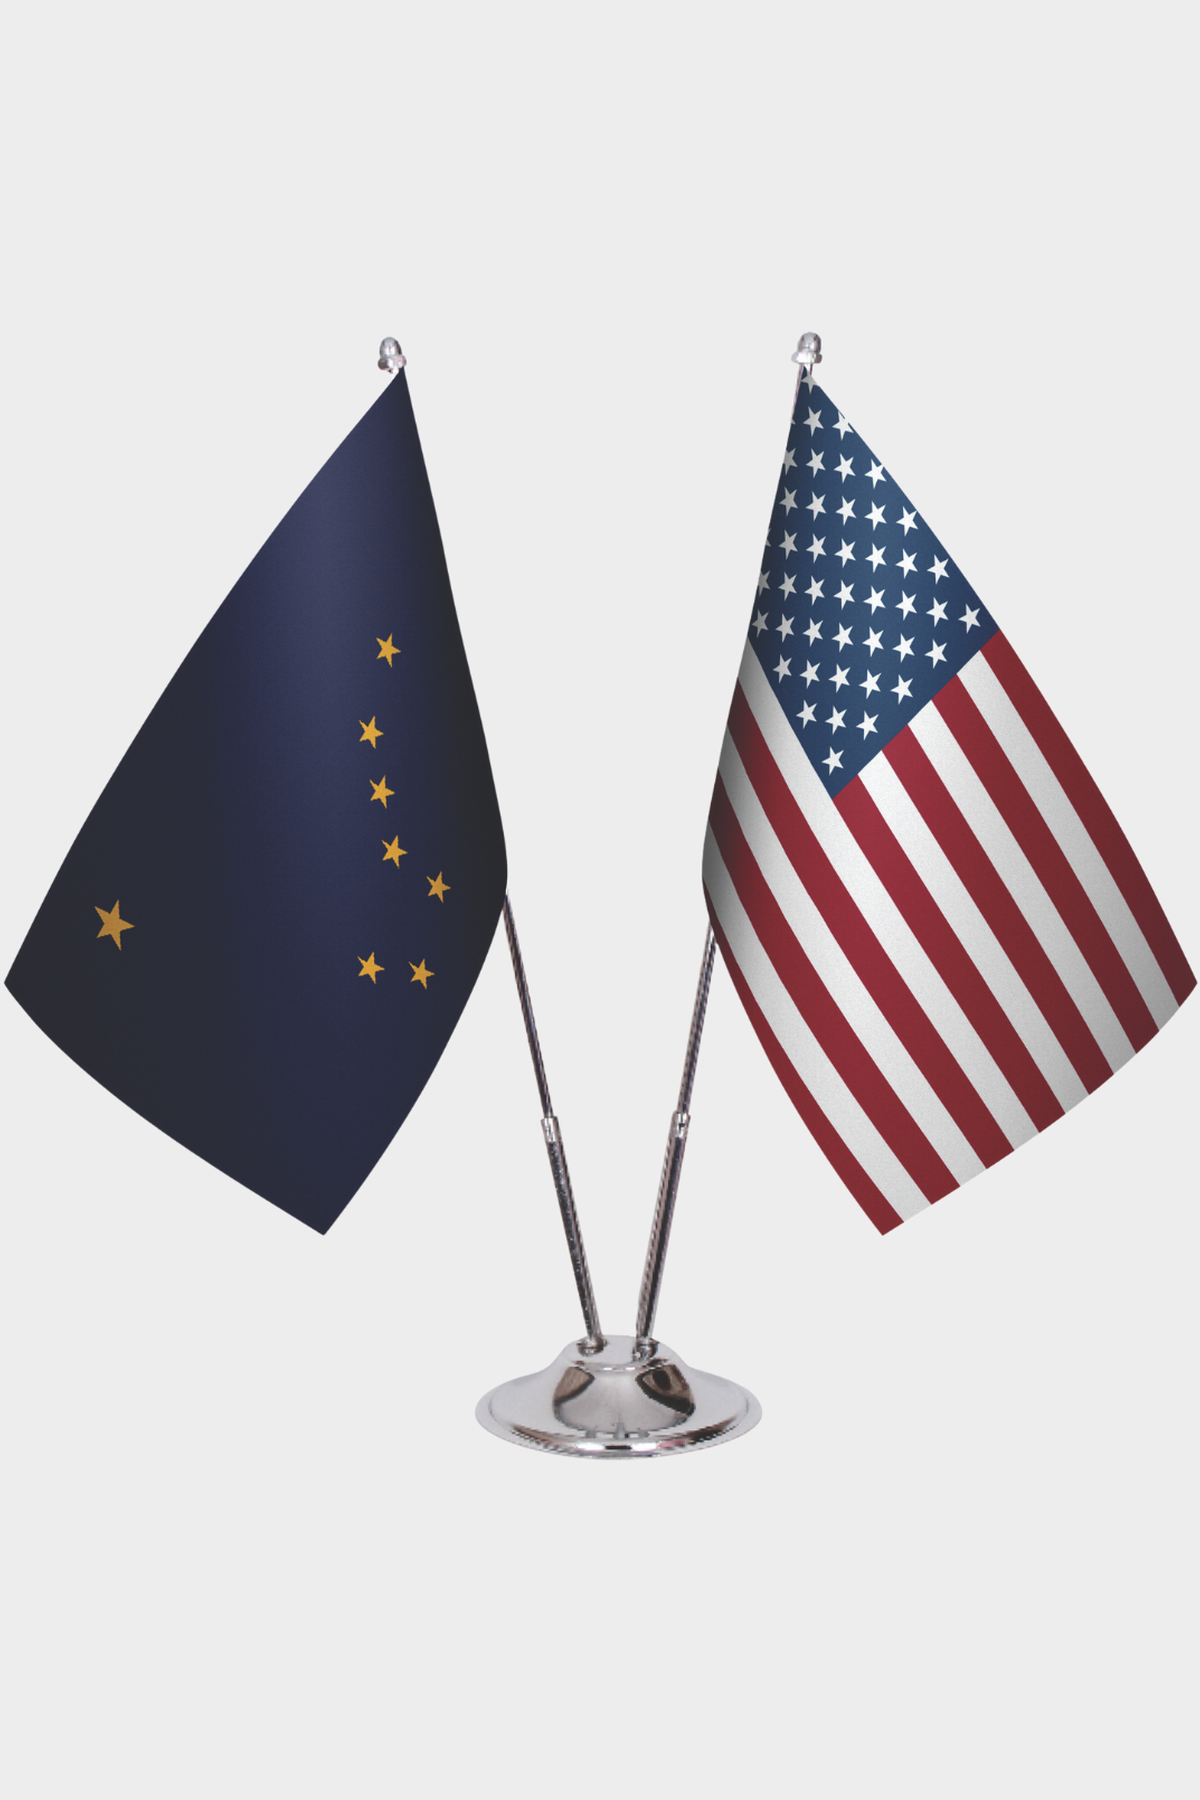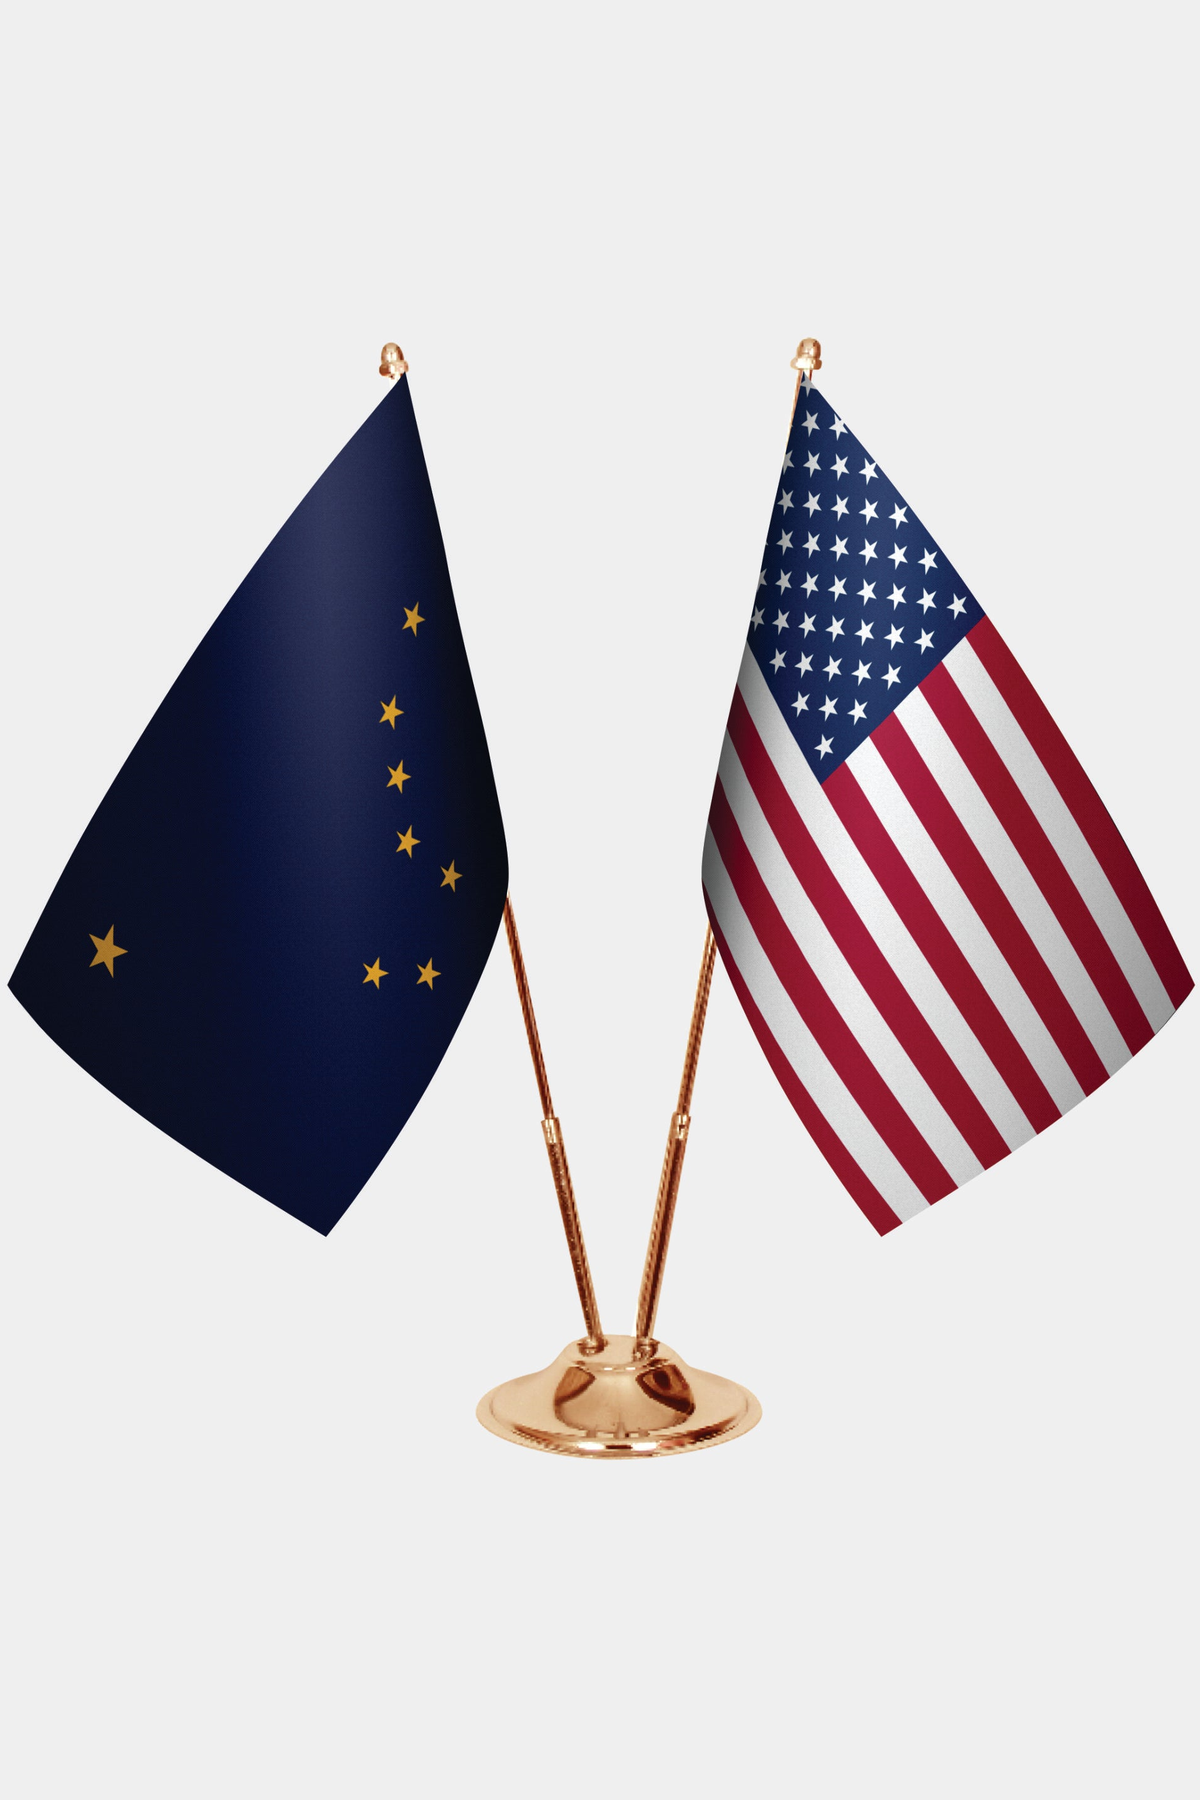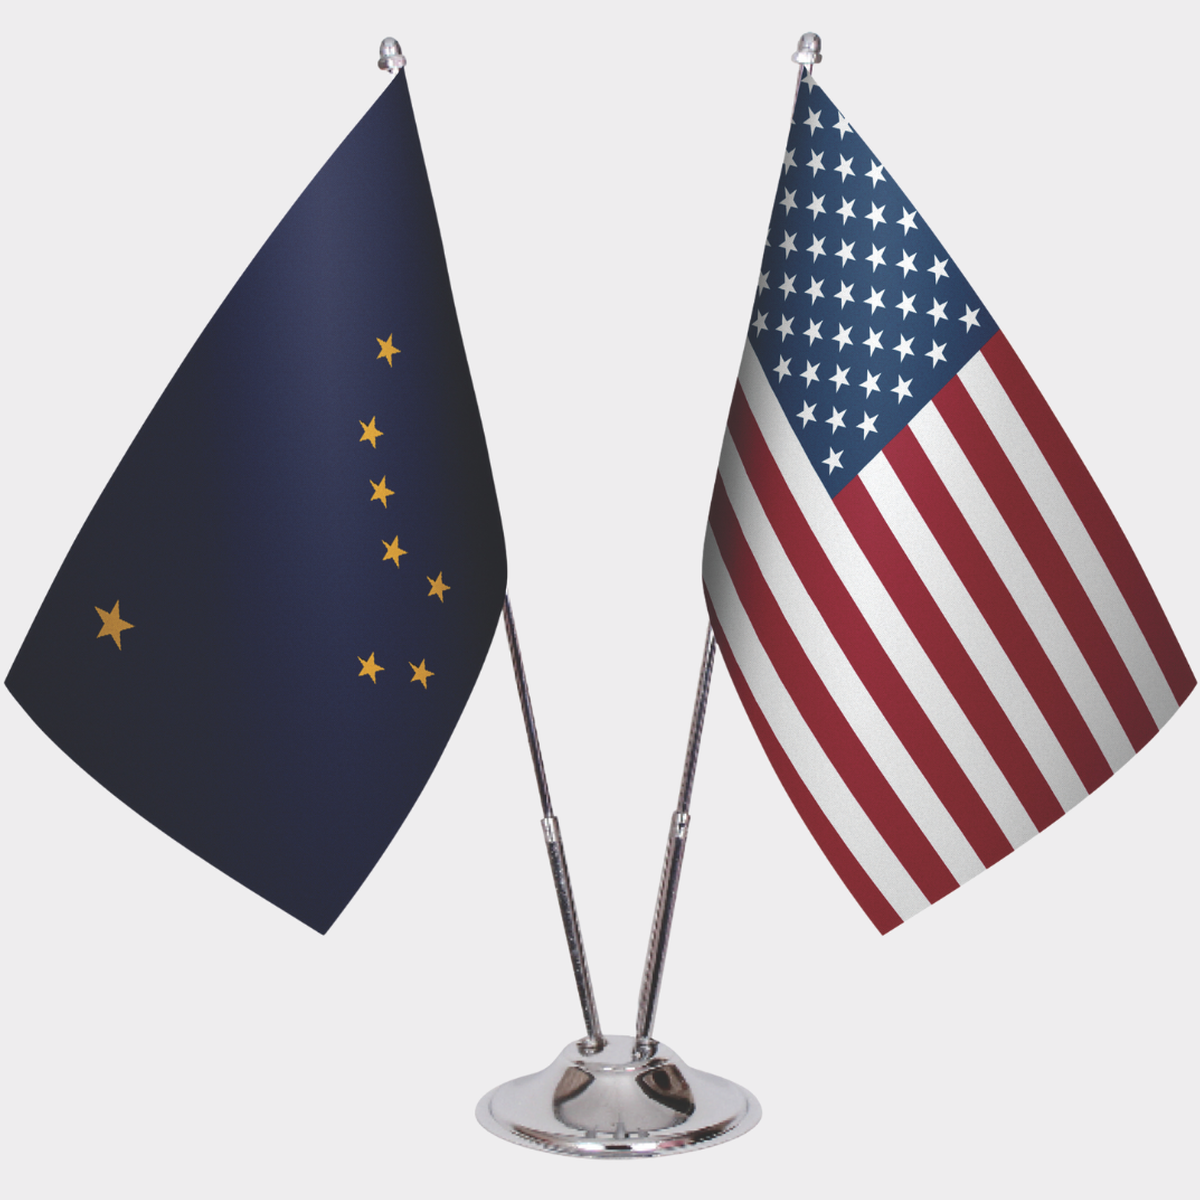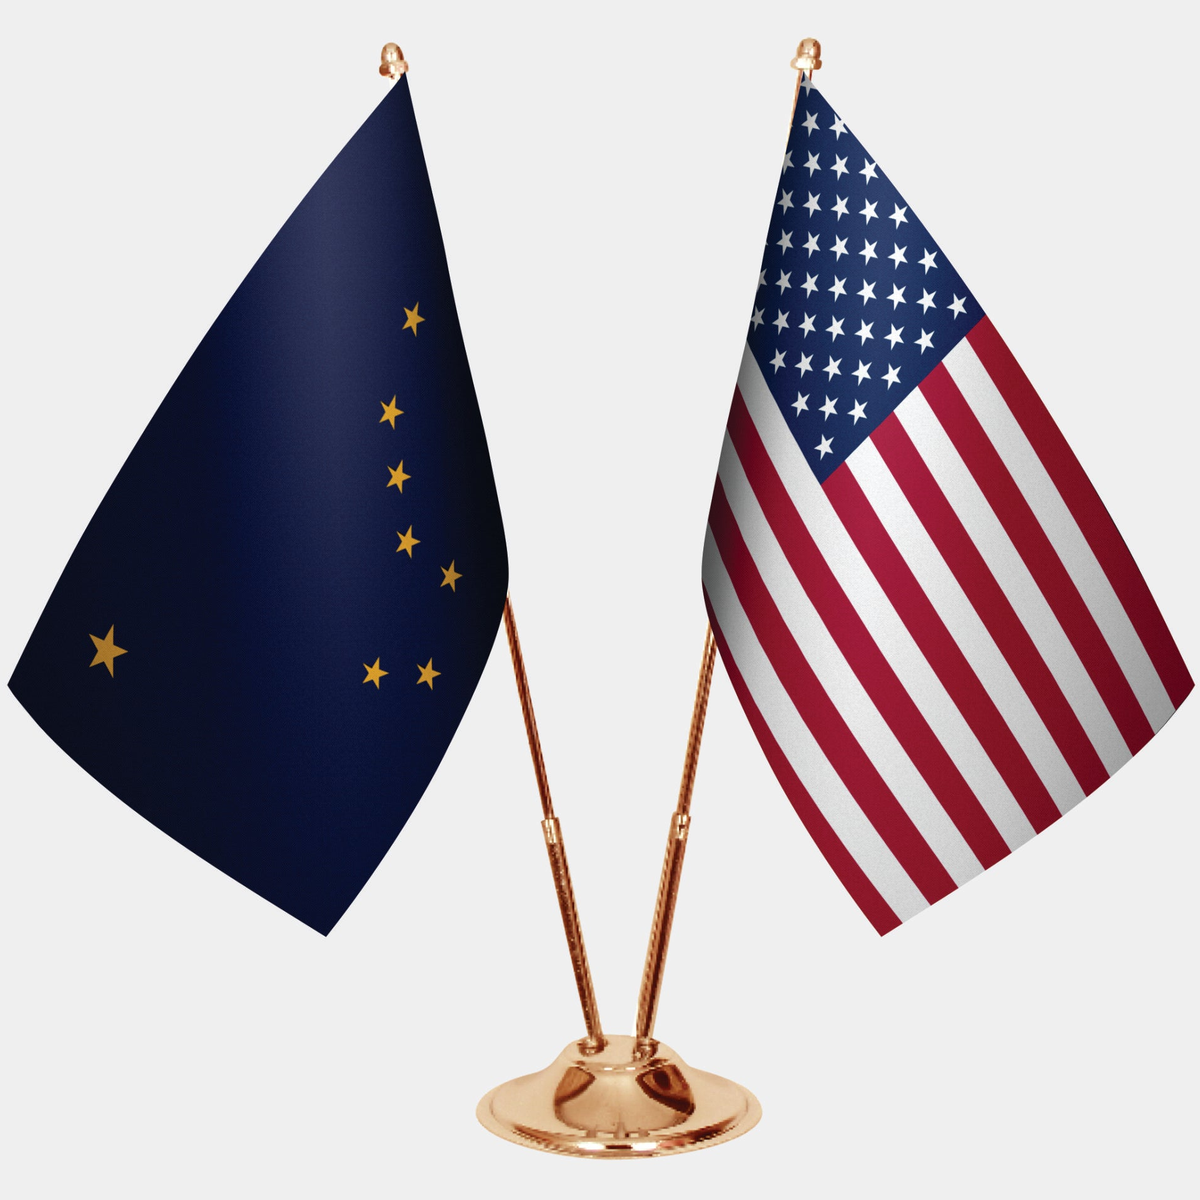

Getting your artwork right before flag printing begins is the single most important step in the process — a properly prepared file means accurate colors, sharp edges, and no reprints. Whether you are ordering a one-off executive piece or a run of branded flags for multiple locations, the preparation checklist is the same, and skipping any part of it costs time and money. This guide walks you through every stage from file setup to final proof approval, specifically for custom printed flags intended for outdoor pole or indoor display. If you are sourcing flags for your organization, the Corporate Flags collection covers the full range of print-ready custom options available to order today.
What You Need Before You Start Preparing Your Artwork
Before opening any design software, you need three things ready: your master logo file in its highest-resolution form, your confirmed brand color values in both CMYK and Pantone, and the exact finished size of the flag you are ordering. Without these three inputs locked down, every design decision you make downstream becomes provisional and may need to be redone. Many delays in flag production trace directly back to a designer starting layout work before the print size was confirmed by the client — then discovering the proportions require a complete redo.
Resolution is non-negotiable in flag artwork. For flags printed at standard viewing distances — typically seen from 6 ft to 30 ft (1.8 m to 9 m) away — a minimum of 100 dpi at final print size is generally acceptable, though 150 dpi at actual size is the preferred starting point for dye-sublimation fabric printing. If your logo was built in a vector application such as Adobe Illustrator or CorelDraw, it will scale to any flag size without resolution loss, which is the ideal scenario. Raster files (JPEG, PNG, PSD) must be checked carefully: a logo that looks crisp on a business card at 300 dpi may print blurry on a 3 ft × 5 ft (91 cm × 152 cm) flag if it was never created at a larger pixel dimension. For a deeper look at file formats, resolution thresholds, and which formats are accepted at production, the article on file formats and sizes for flag printing covers every technical specification in full.
Color mode must also be set before you begin. Flag fabric is printed in CMYK, and RGB files submitted directly to production will undergo an automatic conversion that frequently shifts brand colors — blues often turn purple, and vibrant reds can go muddy. If your brand guidelines specify Pantone references, convert those to their CMYK equivalents using the official Pantone color bridge chart and note the values explicitly in a document that accompanies your file. Spot colors cannot be reproduced in dye-sublimation printing; they must be converted to the closest achievable CMYK mix and approved by you before production starts.
Step-by-Step: How to Set Up a Flag Artwork File from Scratch
 Step 1 — Document setup: Open your design application and create a new document at the exact finished flag size in CMYK color mode. If the flag is 3 ft × 5 ft (91 cm × 152 cm), the artboard must be exactly that dimension — not a scaled proxy. Add a bleed zone of at least 0.5 in (13 mm) on all edges that will be hemmed or folded; this prevents white edges appearing if the fabric shifts slightly during cutting or hemming. For pole-sleeve flags, add an additional 3 in to 4 in (76 mm to 102 mm) on the hoist side to account for the sleeve fold, ensuring no design element is obscured when the flag is mounted. The Chrome Pole Official Flag with Logo is a good example of a product where sleeve placement matters — the flag wraps a chrome-plated metal pole and any misaligned artwork near the hoist becomes permanently hidden inside the sleeve. Set all text and critical graphics at least 1 in (25 mm) inside the trim line as a safe zone, since fabric can shift up to 0.75 in (19 mm) during production finishing.
Step 2 — Place and scale your logo: Import your vector logo file and scale it to fill the intended proportion of the flag face. A common guideline for corporate flags is that the primary logo or emblem should occupy roughly 50–70% of the flag's shorter dimension in height, centered on the fly (the half of the flag that moves freely in wind). Avoid placing logos at the very center of the flag; wind causes fabric to billow and fold along the center line, which can temporarily obscure a centered design. Positioning the primary graphic slightly toward the fly side — roughly 55–60% from the hoist — keeps it visible when the flag is in motion.
Step 3 — Typography and fine detail: Convert all fonts to outlines or curves before saving. This eliminates the risk of font substitution if your file is opened on a different machine at the production facility. Minimum recommended type size for flags intended to be read at 10 ft (3 m) is approximately 2 in (50 mm) cap height at print size; for flags meant to be legible at 30 ft (9 m), scale that proportionally to at least 6 in (152 mm) cap height. Avoid hairline strokes thinner than 1 pt at print size — on fabric, these frequently disappear entirely. Stroke weights of 3 pt or heavier are reliable for text outlines and borders.
Step 4 — Review for reverse-side bleed-through: On single-layer fabric flags, the print bleeds through and appears as a mirror image on the reverse side. If your design contains directional text or asymmetric logos, you must either accept the mirrored reverse or specify a double-sided build — two printed panels sewn back-to-back with a blockout liner. For executive or official settings, double-sided construction is the standard. If you are unsure which build suits your flag, reviewing the guidance in the article on dye sublimation vs. UV printing for custom banners will help you understand how each print method handles fabric layering and bleed-through differently.
Step 5 — Export correctly: Save a print-ready PDF (PDF/X-1a or PDF/X-4 standard) with all fonts embedded, bleed marks included, and color profile embedded as Fogra39 or US Web Coated (SWOP) v2. Also retain your native editable file (.ai, .cdr, .psd) in case the production team needs to make minor adjustments during proofing. Never submit a JPEG as your final file unless it was originally built at 150 dpi or higher at final print size; JPEG compression artifacts become visible in large-format printing.
Common Artwork Mistakes That Delay Flag Production
 The most common mistake is submitting a logo pulled from a website — typically a 72 dpi PNG or JPEG intended for screen display — and expecting it to print sharply on a flag. Screen resolution files will always produce a blurry print on fabric, and no amount of upscaling in Photoshop recovers lost pixel data. Always go back to your brand's original source files, which should be vector format (.ai or .eps). If your organization has lost its original vector files, a graphic designer can manually redraw (retrace) your logo from a high-quality scan, and many flag manufacturers — including Asya Bayrak — can assist with this as part of the order process. The Logo Printed Pole Flag is ordered by sharing your own logo directly at the time of purchase, and a digital design proof is sent for your approval before any printing begins, which provides a built-in checkpoint to catch this problem before it reaches production.
The second most frequent mistake is incorrect color mode. RGB files look vivid on screen but will print with noticeably different hues on fabric because the CMYK gamut of textile printing ink sets is smaller than the RGB screen gamut. Specific problem zones include saturated blues (RGB 0, 0, 255 converts to a flat, slightly purple CMYK), bright oranges, and neon greens — none of which are fully reproducible in CMYK on fabric. Always convert to CMYK in your design software first, soft-proof against a fabric color profile, and flag any colors that shift more than 10 Delta-E units for client approval before submission.
A third persistent error is missing bleeds. Designers working primarily in digital media often create files with zero bleed because bleed is irrelevant on screen. On a physical flag, a zero-bleed file results in thin white slivers along the hem edges where the fabric is folded and sewn. Adding 0.5 in (13 mm) of bleed — extending your background color or image beyond the trim edge — prevents this entirely and costs nothing to add at the design stage.
Color Accuracy and Proof Approval: What to Check Before You Sign Off
When you receive a digital proof from your flag manufacturer, your primary job is not to admire the design — it is to verify specific technical elements against your original specifications. Start with color: compare the proof colors against your CMYK values under standard daylight (D65 illuminant, 6500 K), not under fluorescent office lighting or your monitor, both of which distort color perception. If the manufacturer provides a physical strike-off (a printed fabric sample before the full run), evaluate that under natural daylight outdoors where the flag will actually be displayed.
Check text legibility at the intended viewing distance. Print the proof at 25% of actual flag size and hold it at arm's length — this roughly simulates how the flag will look from 10 ft (3 m) away. If text is not clearly readable at that simulation, it will not be readable on the installed flag. Verify that no critical element falls within the bleed zone or sleeve fold area. Confirm that the hoist side construction matches what you specified: grommets, rope loop, or pole sleeve. Once you approve the proof in writing, production begins and changes after that point typically incur additional costs; the time spent on thorough proof review is always worthwhile.
Durability Considerations That Start at the Artwork Stage
Artwork decisions made at the design stage have a direct effect on how long a printed flag holds its appearance outdoors. High-contrast designs with large blocks of solid color and bold typography will read clearly even as UV fading occurs over a 6-month to 2-year outdoor lifespan. Designs that rely heavily on fine gradients, thin strokes, or subtle color differences between adjacent areas will show degradation much earlier, as UV fading compresses the tonal range and those subtle differences collapse into a uniform tone.
UV-stable dye-sublimation inks penetrate the fabric fiber rather than sitting on the surface, which is why they resist fading significantly better than screen-printed or UV inkjet-printed flags in outdoor conditions. However, even the best inks are only as durable as the design allows — a pale yellow on a white background will effectively disappear within three months of outdoor exposure regardless of ink quality. For long-term outdoor display, prefer designs where logos and text sit against backgrounds with a minimum Delta-E contrast of 30 or greater, which preserves legibility well beyond the midpoint of the flag's service life.
For organizations deploying flags across multiple sites — headquarters, branch offices, and event venues — consistent artwork file management is as important as the artwork itself. Maintaining a single master file repository with version control ensures every site receives identically printed flags and that future reorders are produced from the same approved file. For guidance on how flags are typically deployed across different locations, the article on company flags for headquarters and branch offices covers that organizational dimension in detail.

Corporate Flags Collection
Custom-printed pole flags, office flags, and vertical flags for corporate, institutional, and government display — each produced from your approved artwork file.
Browse Collection →When to Ask the Manufacturer to Handle Artwork Preparation
If your in-house team does not have a designer familiar with large-format print specifications, it is almost always faster and cheaper to have the flag manufacturer handle artwork preparation than to submit a problematic file and go through multiple rounds of correction. Most professional flag manufacturers — including Asya Bayrak — offer artwork setup as part of the ordering process, where you provide your logo (even in a lower-quality format) and the production team rebuilds or redraws it to the required specification. The digital proof stage then serves as your approval checkpoint before any fabric is printed.
This is particularly relevant for complex logos with fine detail, emblem-style designs with thin inner strokes, or any design that includes photographic elements. Photographs on flags require specific treatment: they must be converted to a color mode and resolution appropriate for fabric printing, and soft areas in a photograph (sky gradients, subtle shadows) often need manual adjustment to prevent banding when printed on textile substrates. A manufacturer who regularly produces printed flags will have standard workflows for all of these scenarios and can advise on design adjustments that protect both print quality and the flag's outdoor durability. For organizations producing larger quantities or complex branded items beyond flags, the Branded Merchandise and Custom Printed Textiles collection extends the same print-quality standards across a wider range of products.
For vertical-format flags — which have their own proportional and artwork layout conventions — the article on vertical flag sizes and pole options explains how artwork orientation changes when a flag is displayed vertically rather than horizontally, which affects the entire design grid from the start.
What resolution does a flag print file need to be? +
Do printed flags show the design on both sides? +
What color mode should my flag artwork be in? +
Can I order a custom printed flag if I only have a JPEG of my logo? +
How much bleed do I need to add to a flag print file? +
How long does the artwork proof and approval process take? +
Does artwork preparation cost extra when ordering custom flags? +
Preparing your artwork correctly from the start eliminates the most common causes of reprints, color disputes, and production delays. For organizations ready to move from file preparation to ordering, the Logo Printed Pole Flags collection offers a range of custom-printed outdoor flag formats that accept your own logo and artwork, each backed by a digital proof before production begins. For interior and executive environments, the Chrome Pole Official Flag with Logo delivers a presentation-grade result built on double-layer satin fabric with a chrome-plated metal pole. Organizations deploying flags at scale across multiple sites will also find value in the Vertical Pole Flag, which combines UV-stable digital printing with reinforced edges for long-term outdoor institutional display. Bulk pricing is available for corporate orders across all product lines — contact Asya Bayrak with your flag size, quantity, and artwork files to receive a production-ready quotation.